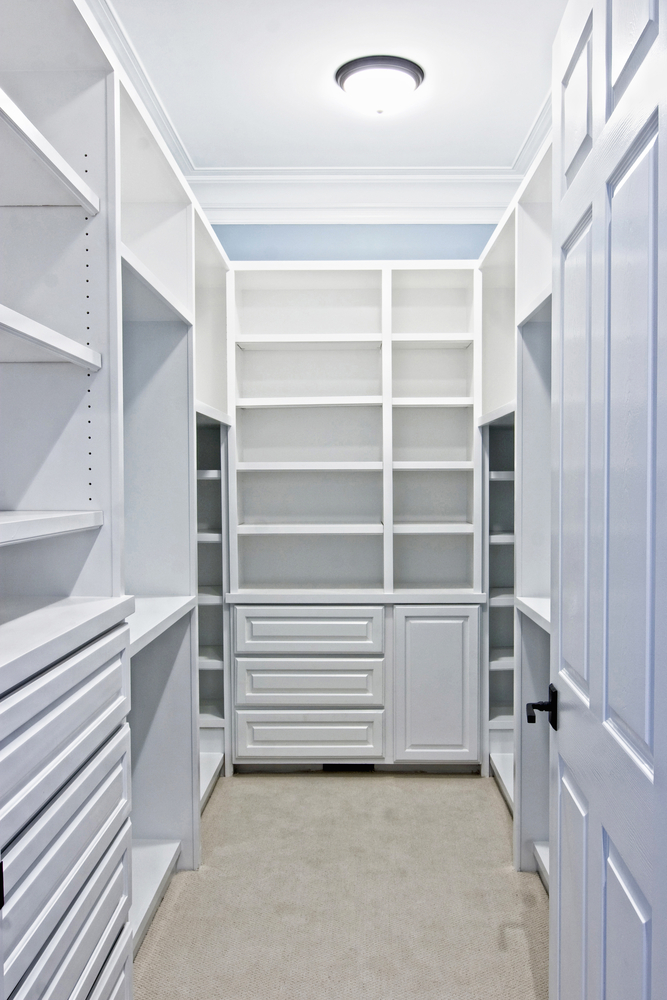
California Closets produces a line of high quality, hardwood closet organizers which can transform your storage spaces. While many people have this popular storage solution installed by a professional, anyone can do it with a bit of patience and willingness to follow directions.
One of the great advantages to this type of storage enhancement is that it can be installed in many different configurations. If you choose to do your own installation, you can try out different configurations to ascertain which suits you and your organization needs the best. Professional installers do not particularly want to try installing the horizontal rail at a few different heights, so you can experiment which height is best.
Steel Support Rod Installation
While the finished organizer will appear to be entirely hardwood, there is a steel rail which serves to support the majority of the system's weight. This rail needs to be installed first. You will want to measure to determine the height to ensure that the hanging vertical supports won't touch the floor once you add them. After it is installed, you can add the cosmetic rail cover. It should snap on easily.
Add the Vertical Supports
The vertical supports are very simple to install. On one end, you will find suspension brackets. You install the supports by first hooking these brackets onto the top of the steel support rail. Once they are on, they can be locked into position. Before you lock them, however, you will want to space them out equally, leaving room for your shelves between the dividers.
Add Shelves
The vertical dividers contain rows of holes to enable you to select where you want your shelves. Insert support pegs into the holes at the right height of the dividers. Set a shelf on top of the pegs, and then secure it. Repeat this until all of the foundation shelves have been added.
Customize
Once the foundation shelves are in, the tough part of the installation is done, and your organizer is stabilized. Now you can add the custom pieces, choosing a configuration which makes the most sense for your storage area.
 Elizabeth Moyer